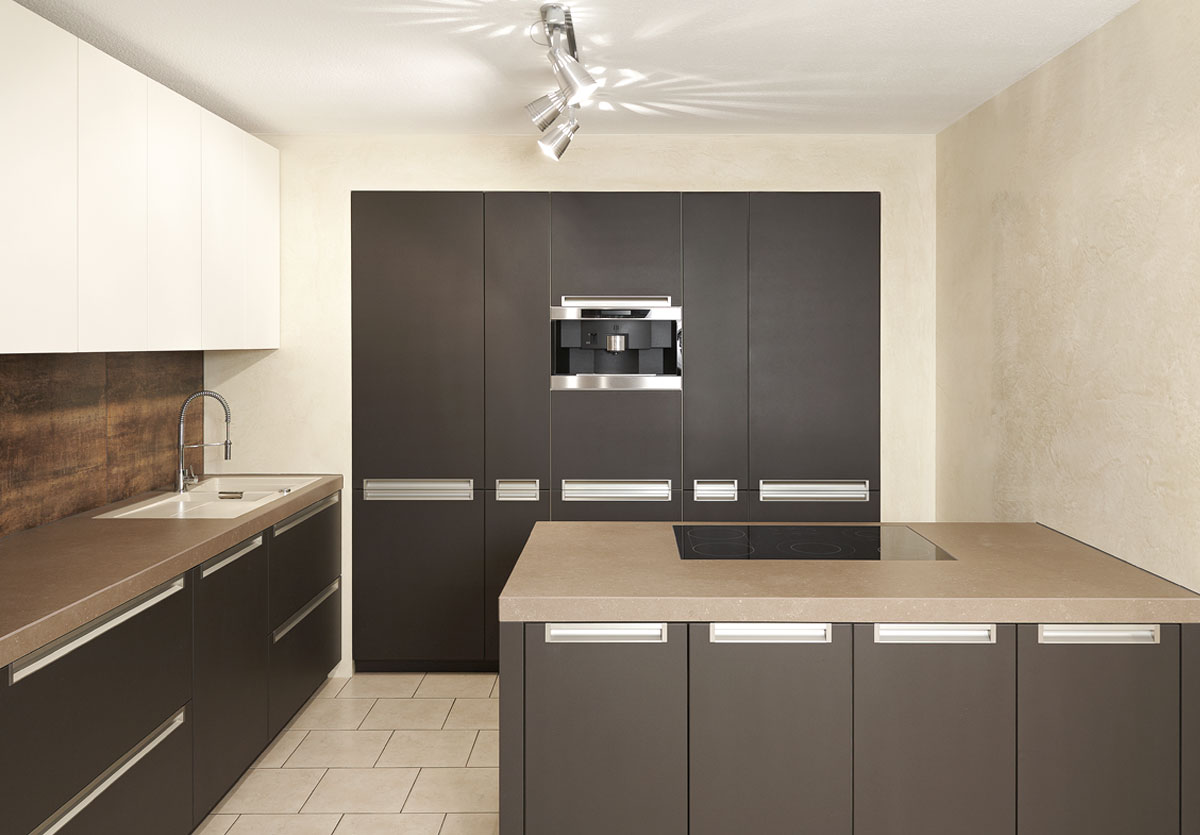
Worktop corner joint is made to merge two separated worktops at a kitchen corner.
Today, you will know how you can make it by yourself.
Tools required:
- Filler
- Sandpaper
- Metal joint
- Handsaw
- Hinges
- Screwdriver and
- Screws
8 Steps to fit corner joint of a kitchen worktop
Read the following guide to make a corner joint.
Clear the worktop
To make more space on the kitchen counter, it is always best to remove the things placed over it.
This helps in reducing the stress and workload from the top.
Measure the worktop edges
Calculate the length where you need to make the corner joint of the worktop.
Use a measuring tape to ease the step.
Cut the metal stripe.
After recording values, cut the stripe of the same length with a handsaw or any automatic cutting tool of your choice.
Fix the metal stripe with a claw clip to support a smooth cutting.
Smooth the surface of the kitchen corner worktop
File the edges of the worktop for effective silicon glue results.
You can also do the same with stripe.
Apply glue to the worktop corner
It is now an excellent time to apply silicon glue.
Paste the metal corner joint on the worktop edge.
Attach the corner worktop joint
Slide the other kitchen countertop and apply glue over its edge.
Carefully join both sides.
Drill the corner joint for extra strength
Secure the metal strip by fastening the screws into the strip.
If needed, tighten it with a screwdriver.
Secure the countertop joint
Free up the storage unit.
Drill the holes inside the cabinet at the place of the joint.
Bravo!
You’ve done a great job.
The Conclusion
The joint fill up the gap between two worktop units. And these steps will help you to make corner worktop joint easily.
Fitting a corner joint will take 3-4 hours of yours.
The entire process includes cutting, trimming, filing and fitting
So do follow safety precautions when using sharp and heavy tools.