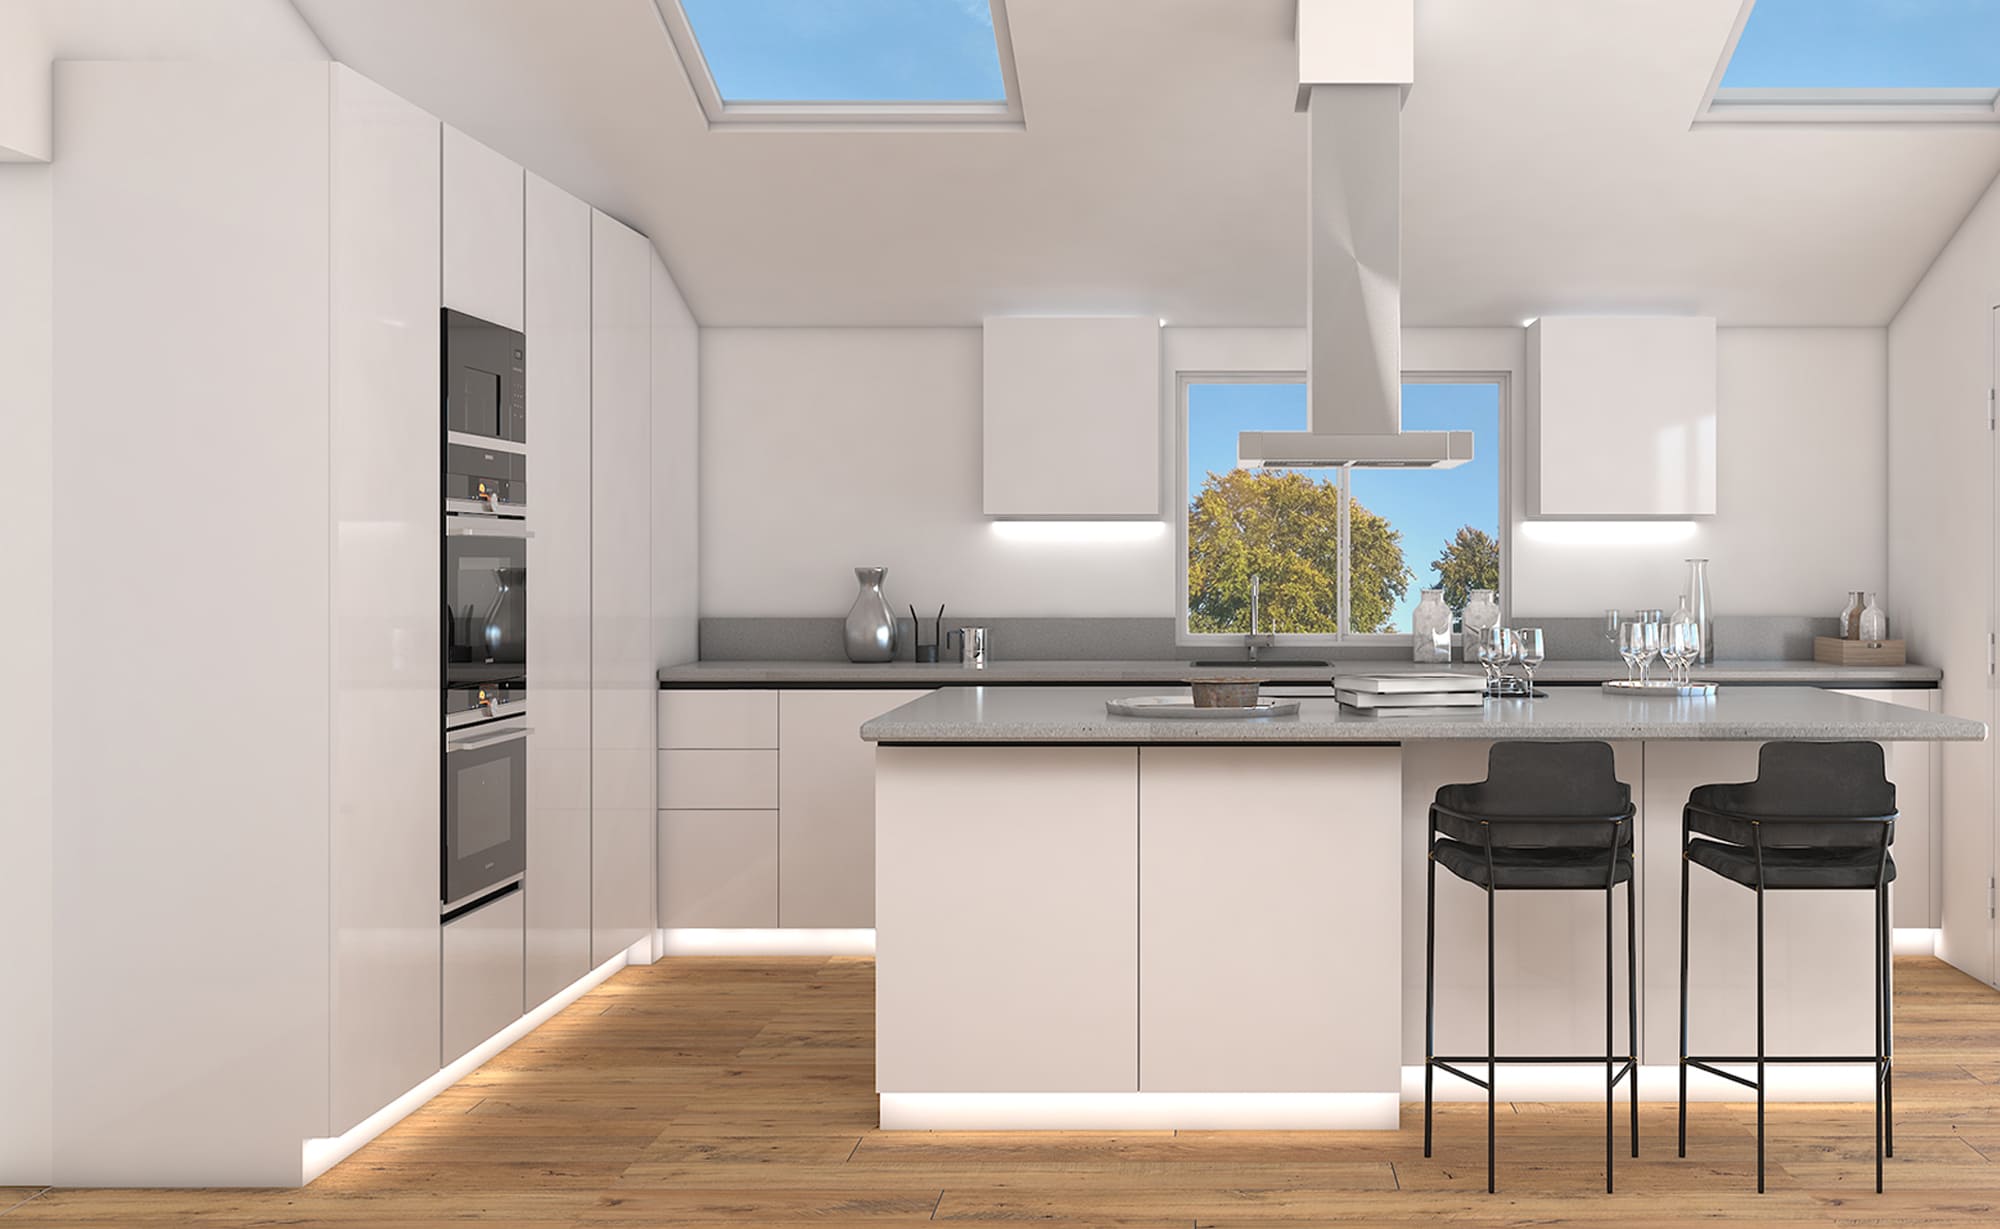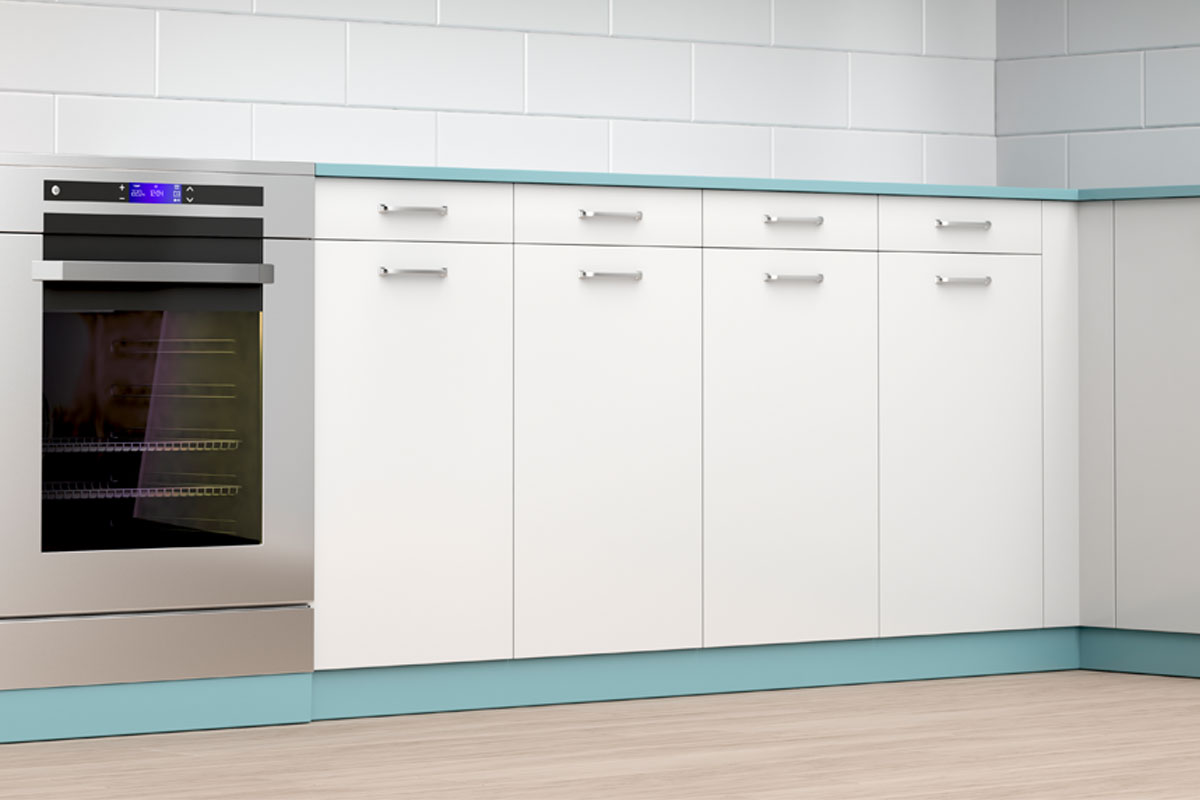
A Plinth is attached to the bottom of the cabinets to form a covering between the floor and the base unit. Kitchen plinths are so fashionable now to enhance the display of cabinets.
Kitchen plinth is generally placed to provide a full finish for base kitchen cabinets and looks just like the basic cabinets and it is not easy to identify whether it is a plinth or the base of a cabinet.
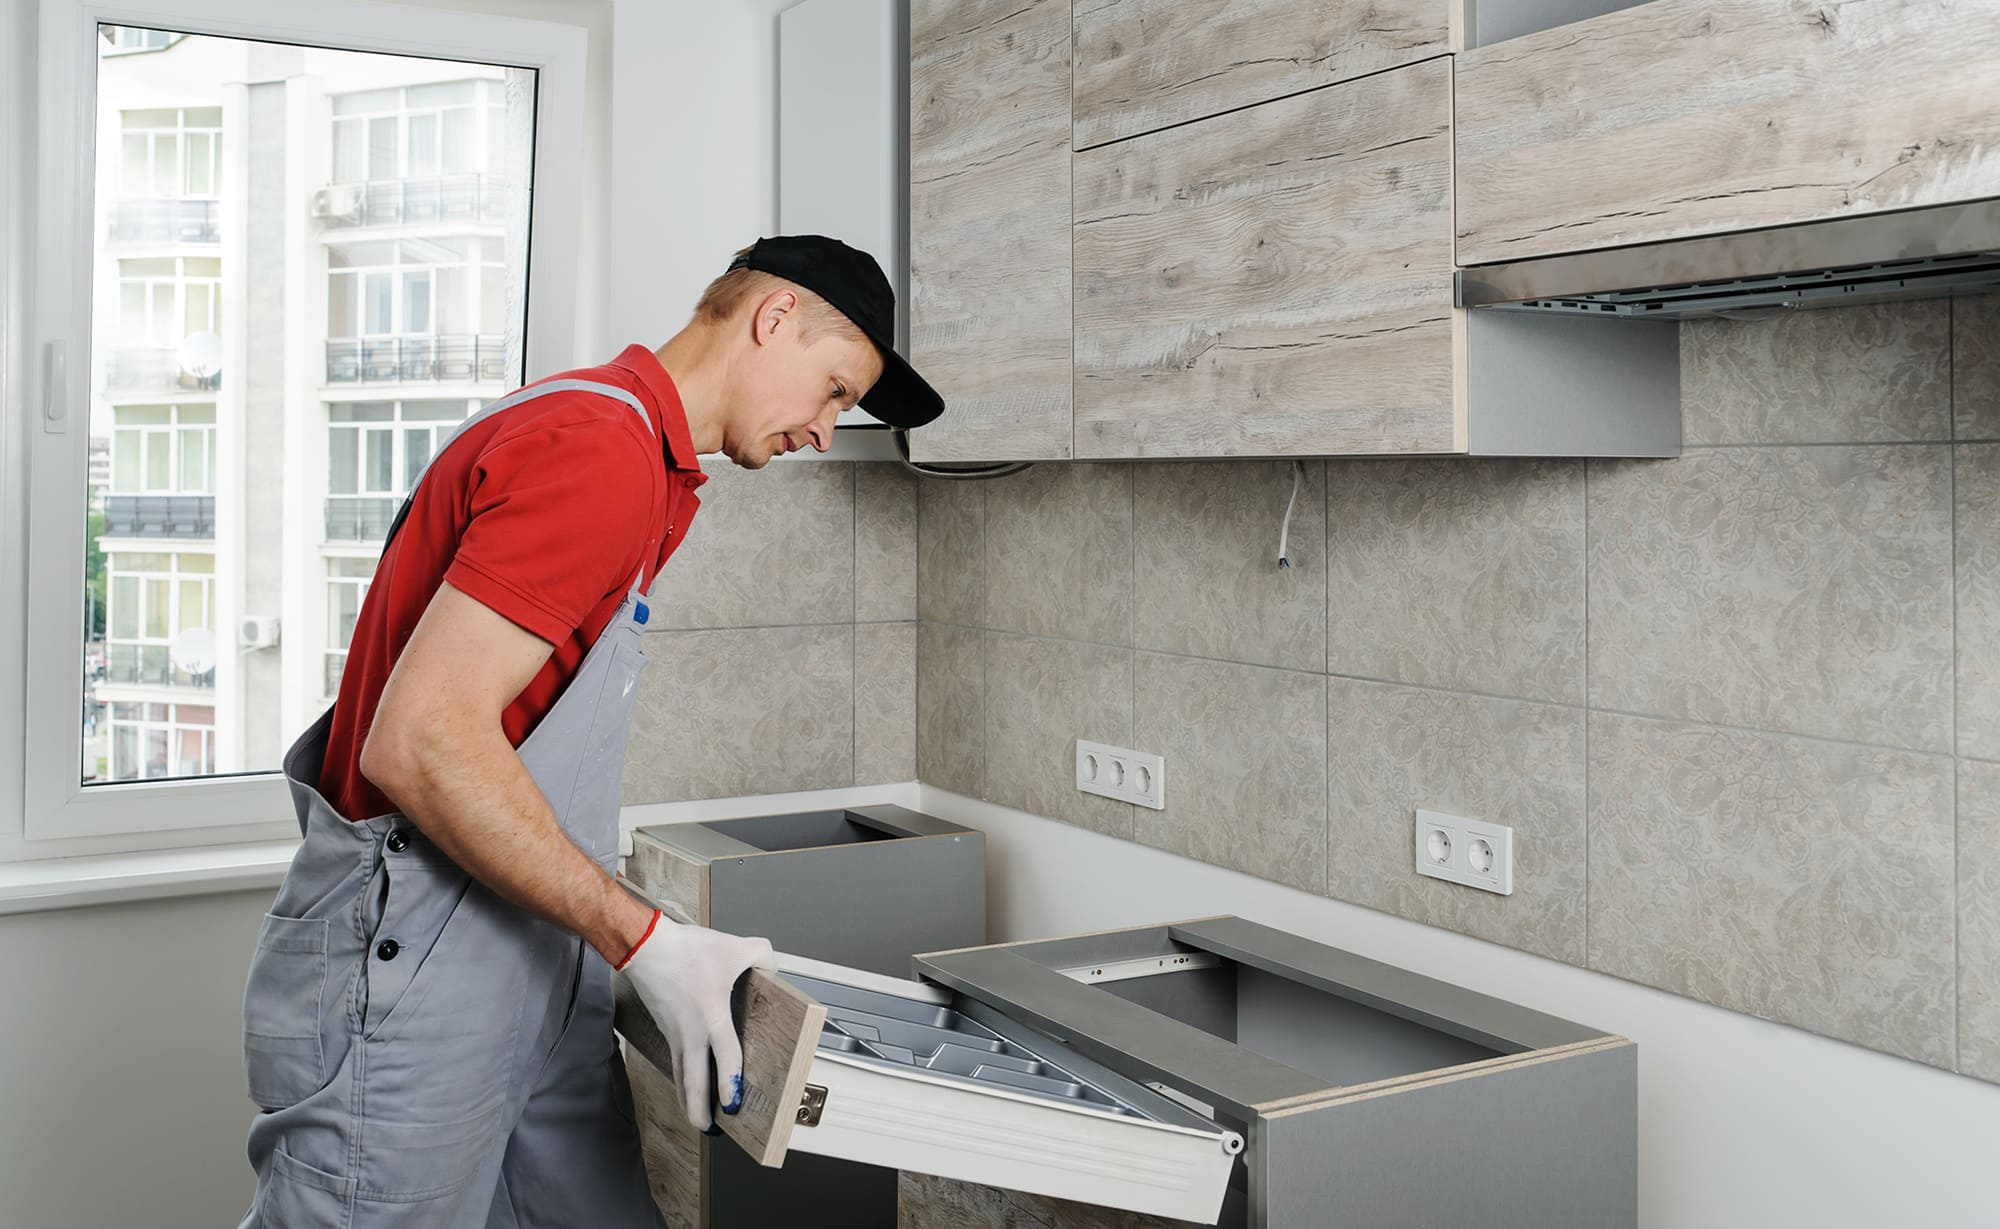
You need to be very careful while making the cabinet sync with baseboard. A slight error may make you do the entire thing again.
Have a look at the steps to fit kitchen plinth.
Step by Step process for fitting the Kitchen Plinth
It is advisable to do the work in the backyard or outside of your home, as this will provide an open space for cutting, designing and customising the kitchen plinth.
Find the perfect match
Kitchen plinths can be constructed from many materials. You can choose any of them based on your choice.
You can choose a kitchen plinth of the same material as that of the base cabinets or a colour contrast to it for a more striking look.
Take measurements
Have a seat on the floor and take any measuring tool.
Calculate the length between the feet of the base cabinet.
Mark the exact length over the plinth material with the help of a marker.
Draw straight lines to ease the cutting process.
Clamp the material
Place the plinth material on a table and secure it using clamps.
This step may be skipped if you are a cutting expert.
Clamping provides extra grip and support to the material during the cutting process.
Cut the material
Take a sharply edged jigsaw and start cutting the surface with the marking lines.
Maintain the straight cut direction and do not apply too much pressure to the saw.
Slice the piece precisely along length and width.
File the edges
The rough, unfinished edges can be gently cleaned using a file.
You can also cut the edges if necessary.
This step leaves the chopped area neatly furnished.
Upgrade the design
The fun part about making a kitchen plinth is that you can add extra finishing.
The use of spray paint or laminated paint gives efficient results on a plinth.
Mark the clip position
Place the plinth near the kitchen base units and have an accurate position of the plinth clips.
Make use of a square gauge to mark the points.
Equate the cabinet feet and Plinth clips together and locate the marks.
Fix the plinth clips
Secure the plinth clips to the surface by a drill machine.
Make sure you are fixing the screws at the place of marking points.
Make a final fit
Now, it is time to join the kitchen plinth to the feet of the base units.
Make a final fit by clipping up both the units together.
Recheck the plinth’s fitting and see the beautiful change in your kitchen.
Bottom Line
Kitchen plinths can be the real game changers.
If done perfectly they not only add to the aesthetics but also add value to the property.
So, it’s important to play with the colours and do some practice work beforehand for a perfect outcome.
Stay connected with us to explore more on Kitchen Designn.