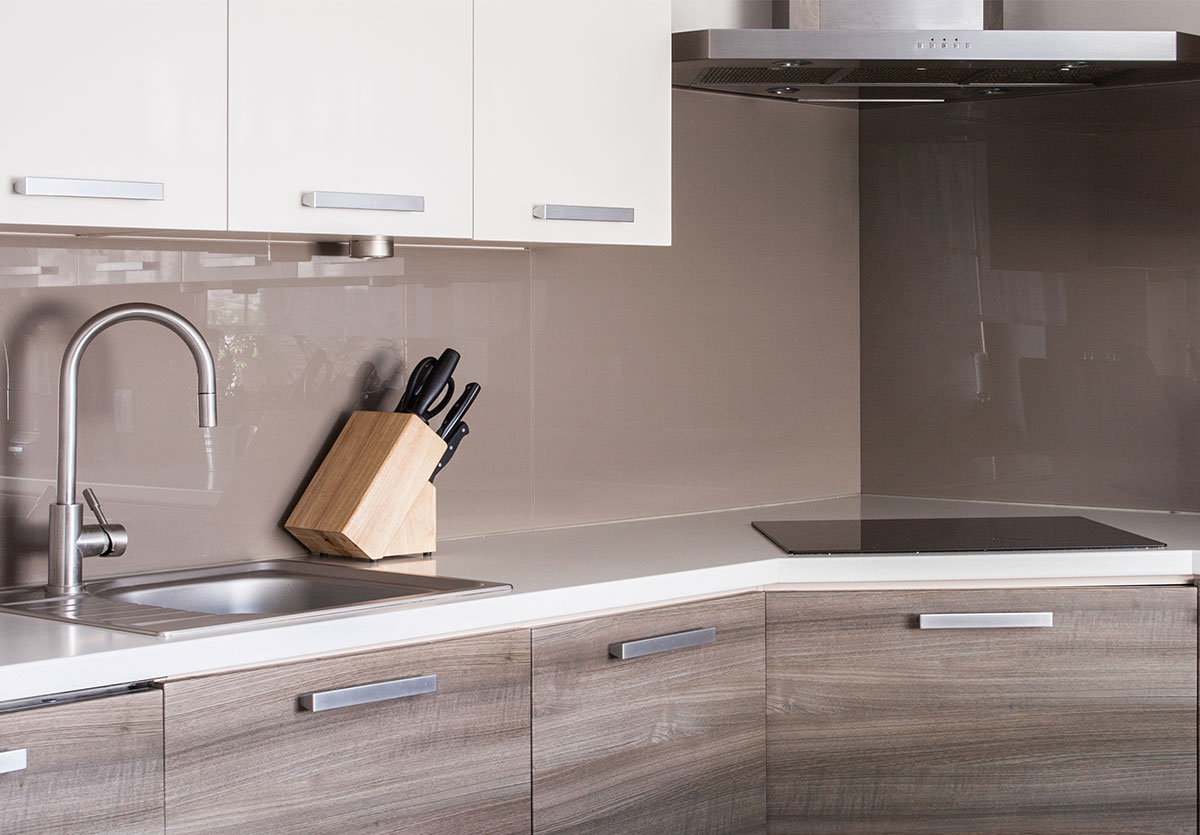
Kitchen cupboard cornices are fixed at the top of cupboards and cabinets in various styles to enhance the aesthetic and support of storage units.
It provides additional security to units from humidity and damage, which are fixed at an angle of 45 degrees and can be straight and curved.
Along with it, the kitchen cornice also gives a stylish look.
Benefits of kitchen wall cupboards cornice?
It covers the space between the ceiling and the upper part of a unit mounted over the wall.
Different designs, styles and materials used on cornice leave an impactful and gorgeous finish to a kitchen wall unit.
Materials used in cornice of kitchen cupboards
Designers make use of a variety of materials with unique properties to make a kitchen cornice.
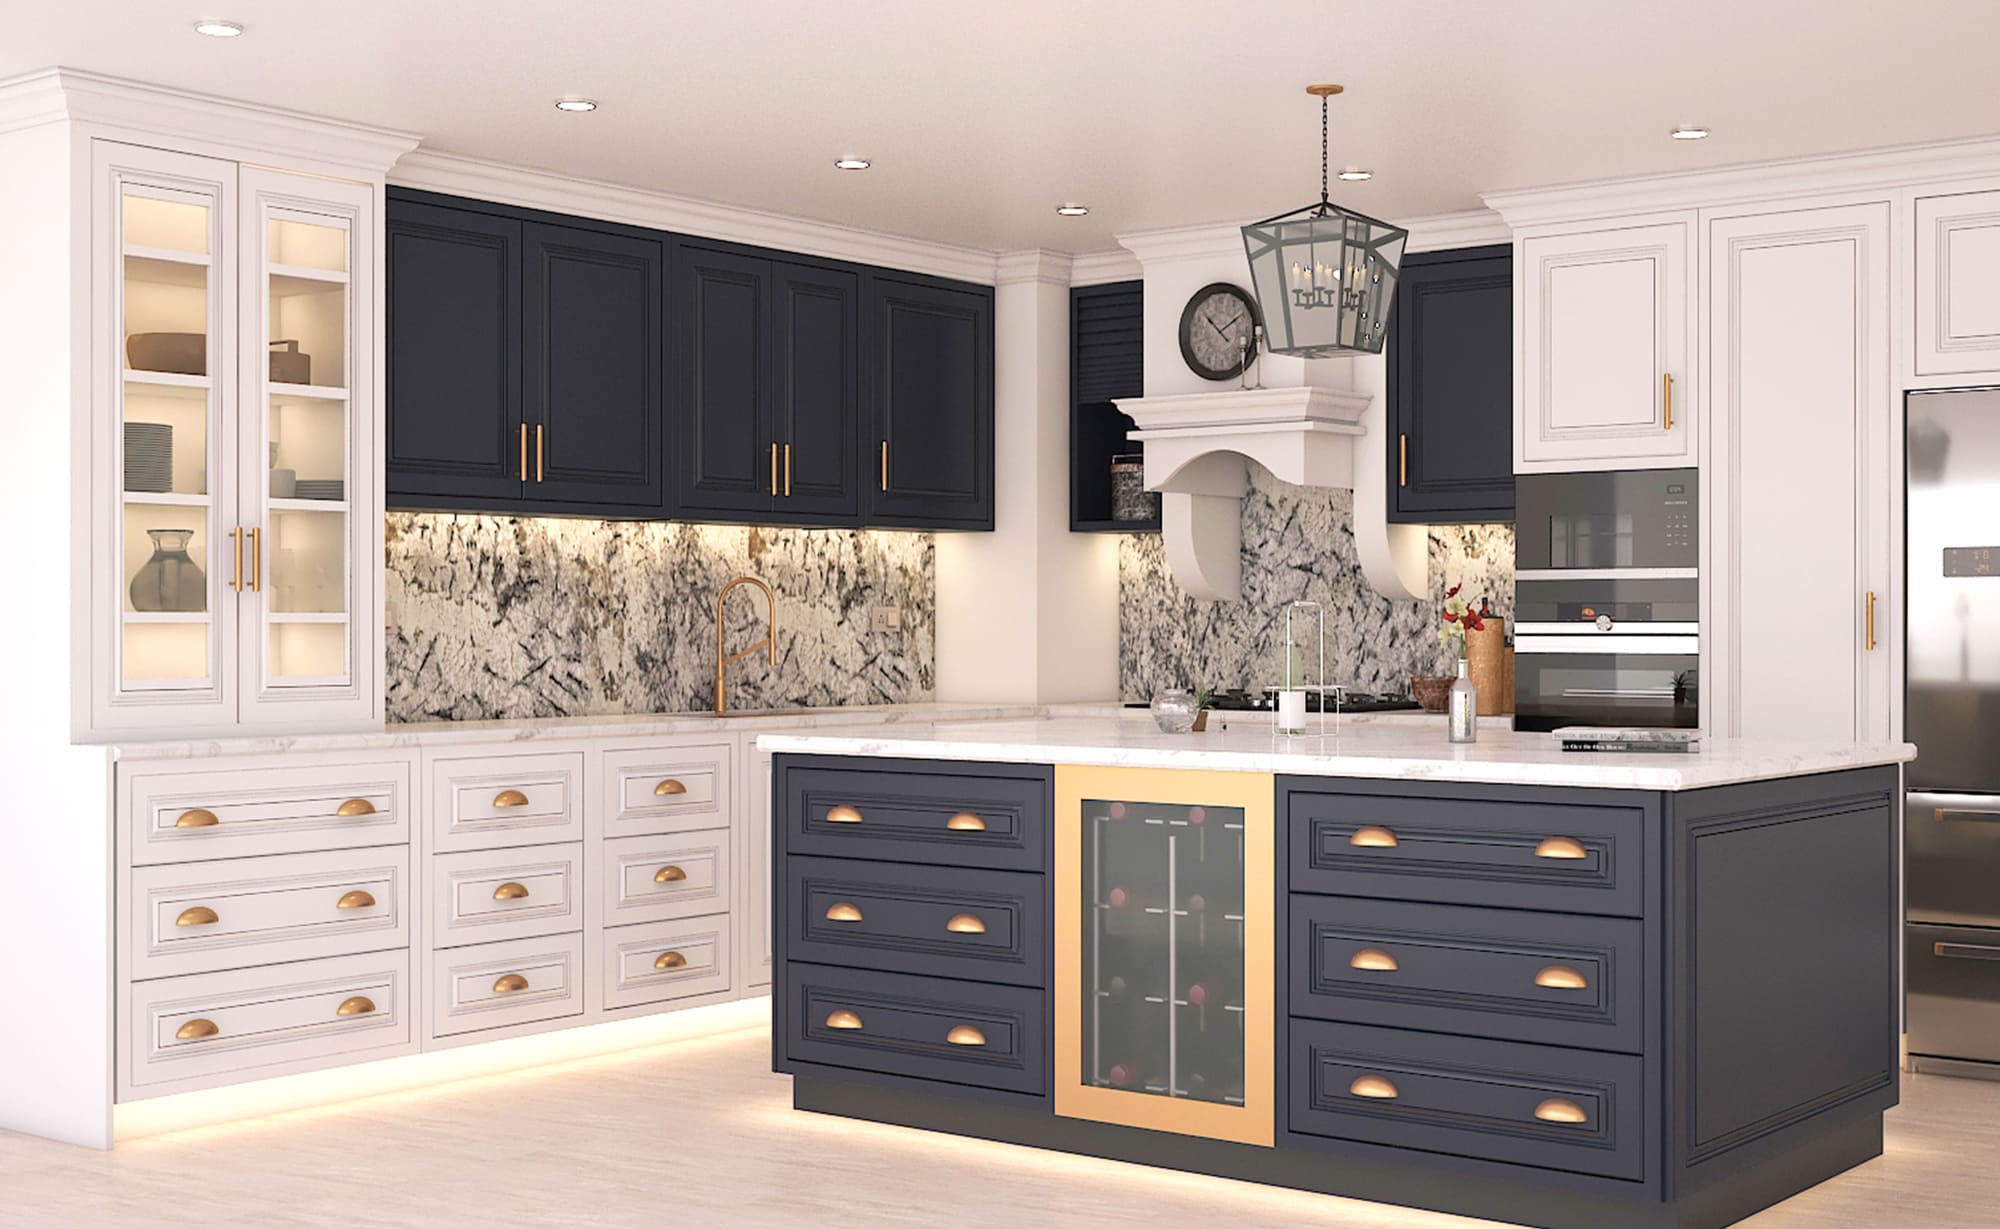
Grey kitchen cupboards are modern and in-trend and look appealing when combined with cornice protection.
- PVC
- Wood
- Marble
- Polystyrene
- MDF
- Plaster
Kitchen Cornice can be fitted easily with the help of some basic tools and tips.
Tools required for fitting a kitchen cornice on cupboards:
- Cornice
- Measuring tape
- Marker
- Sandpaper
- Square gauge
- Adhesive liquid
- Screwdriver
Easy guide on how to fit kitchen cupboard cornice
- Use a measuring tape and calculate the precise dimensions of a spot covered with cornice.
- Also, do the math of the total length and height required for a cornice.
- Keep a note of the recorded analysis and trim the material for kitchen cupboard storage.
- A square gauge and a meter block help examine exact angles at corner joints.
- Cut the surface at 45 degrees, straight or curved, depending on your desired outcome.
- Attach the cornice above the wall units with nails or adhesive.
- In addition, you can sand the top of a cornice to furnish the look.
Bonus tips to fit cornice on cupboards
- Always clean the kitchen cupboard surface top for smooth fixing.
- Wash out and eliminate the old and damaged layers from the storage units.
- Dip a cloth into water mixed with a cleanser and wipe off all the specks of dust and insect wastage from the corners and sides.
- Use similar material as kitchen interior fitting for cornice to leave an impactful and subtle glance.
- In the end, a lacquer layer will refine the finish.
The Conclusion
Hopefully, you got the idea of how to install kitchen cabinet cornice easily.
White kitchen cupboards look stunning and become robust with the support of cornice units.