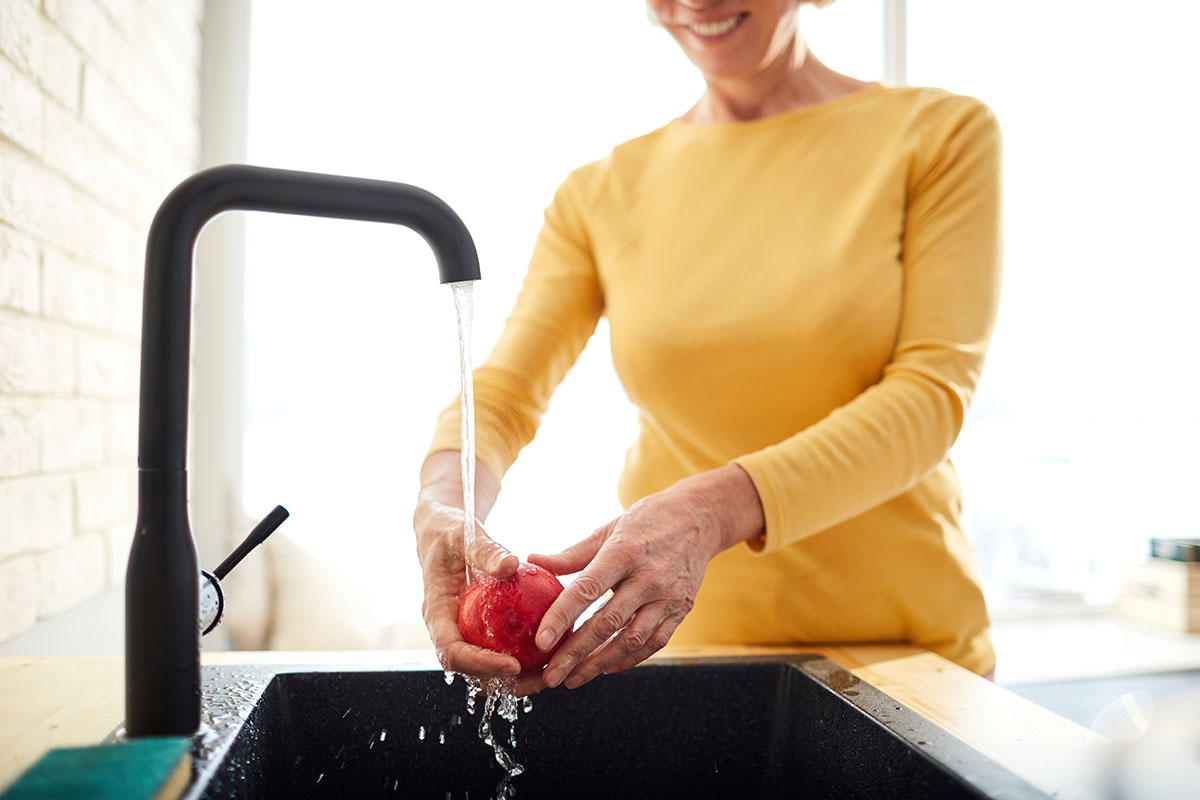
A tap is the main equipment of every kitchen which consists of many interior and exterior parts. The main functioning part of a tap is a Washer. It controls the rotation of the seal that manages the opening and closing of the water.
A washer on a kitchen tap rarely needs to be replaced, unless and until the water starts to drip and create a disturbance. A kitchen tap remains in work most of the time, so the fault in kitchen taps is commonly seen. When a problem occurs, the first thing we worry about is the washer on a kitchen tap.
The taps have different shapes and sizes, so the position of a washer may differ. However, it is usually present on the top or side of the valve. Modern taps do not have washers but use ceramic disc cartridges and sensors.
Tools required in changing a washer on a kitchen tap:
- Screwdriver
- Adjustable Wrench or Spanner
- Rubber Washers
Steps To Change A Washer On A Kitchen Tap
Depending on the type, the procedure and timing for changing a washer on a kitchen tap may vary, but the techniques and tips remain the same. You can easily do this on your own without requiring a plumber. The steps below are cost-effective and simple.
Step 1: Disconnect The Water Supply
- While doing the plumbing, it is necessary and recommended first to turn off the water supply so that you can finish the task easily and gently.
- Though Fixing, fitting and replacement of plumbing can be done without the need of turning off the water supply as long as the person doing the work is a fast performer or an expert in the field. Otherwise, avoid working with an open water supply.
- The water supply can be shut down from the valves or directly from the mains.
- Once the water supply is taken out, turn on the tap to release the remaining water into the pipes.
Step2: Remove The Handle
- A handle is a crucial part that we turn off and activate to release and stop running water.
- Taps can have a variety of handles. Depending on the type, find the screw present on it. Remove the screw with the help of a Screwdriver.
- After removing the screw, you can simply lift the head of the tap handle with the help of your fingers.
- If the handle appears to be jammed, use any releasing agent or oil to loosen the grip of the handle.
Step 3: Pop Out The Headgear
- Under the handle of a tap, a gold and copper metal gear is present with having tiny nuts that control the mechanical functioning of a tap. You will find the Washer inside.
- Pick up the adjustable wrench and turn it counterclockwise to remove the crown. On the bottom, you will see a rubber washer and O-rings.
- A rubber washer is generally present at the bottom of a faucet and the O-rings are two circular rings installed around the top of the headgear.
Step 4: Pull Out The Old Washer
- You will see a small nut in the middle of a rubber that holds the washer for better adhesion.
- Remove the old washer using a screwdriver by unscrewing the nut.
Step 5: Change The Washer
- A washer comes in a variety of sizes and types.
- According to the shape and size of the rubber, choose the compatible one.
- Attach the tap washer to the bottom of the headgear.
Step 6: Clean The Seating
- With long-term use, corrosion and dust particles can be installed in the seat of a tap head. Before putting the equipment head back in place, ensure proper cleaning and clean the dirt with any cleaner.
- This will improve the water flow and the function of the gear head.
- Attach the head-gear back to the tap.