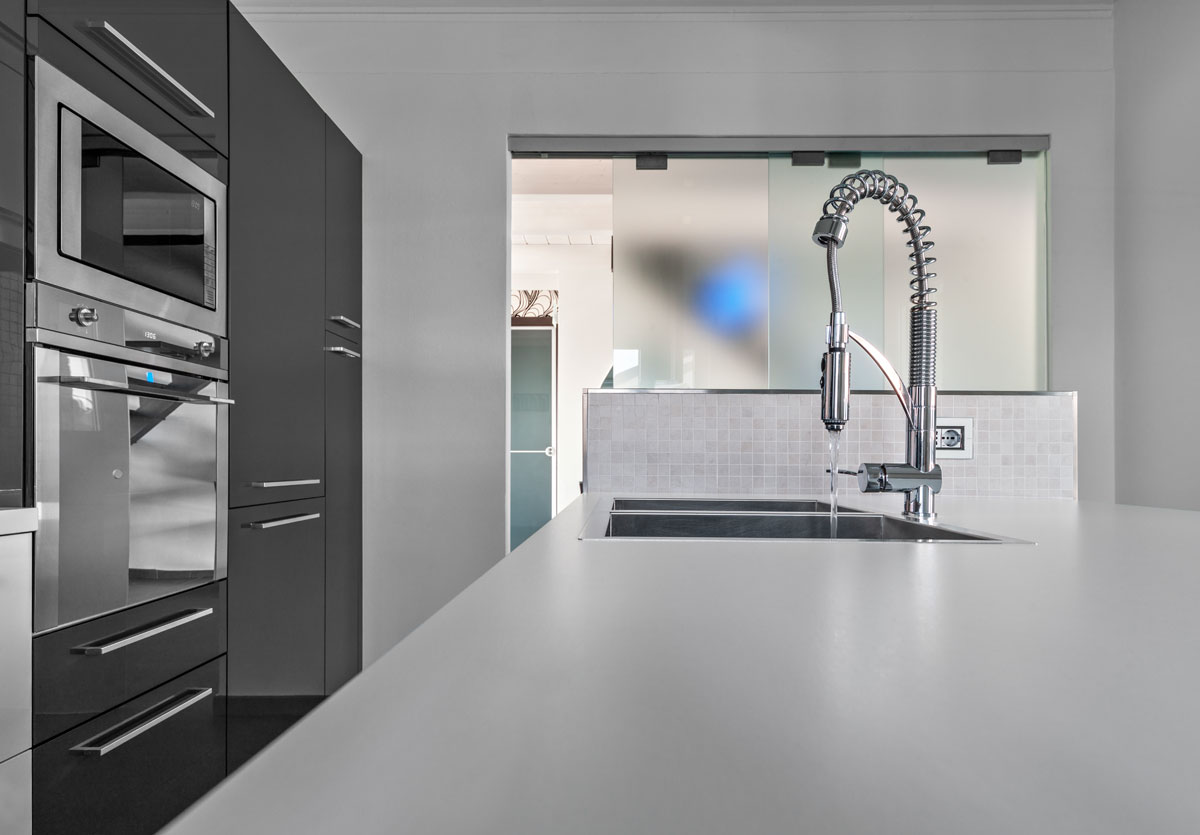
Though copper kitchen tap and pipes are costly, they come with high-quality and eco-friendly approach and turn out to be the basic choice among householders.
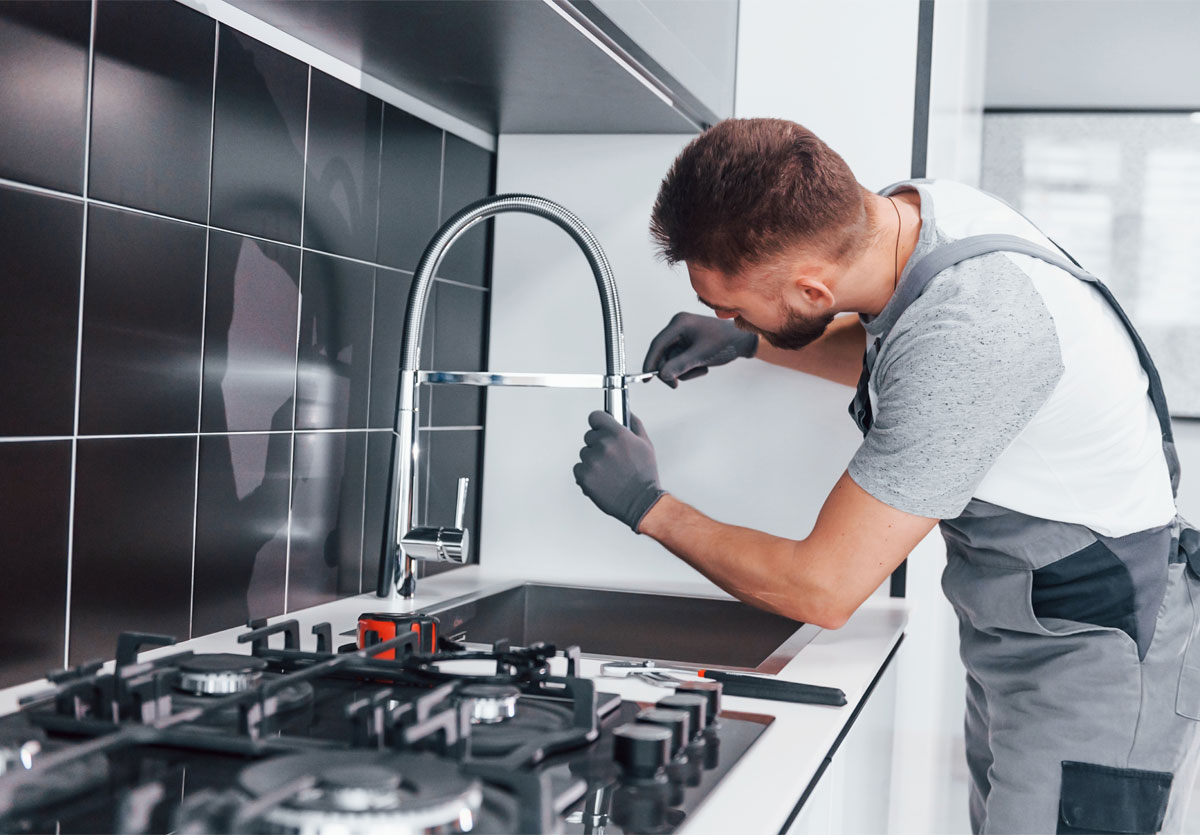
Thinking of changing your kitchen tap to have copper connections, you must contact a professional for help because due to the metal surface the work requires a lot of strength and patience working.
Cutting a copper pipe consumes much of your energy and requires skills.
But wait! If you are confident enough and wanna try DIY method, we’ve got you covered. Just go through our guide on how you can change kitchen tap copper pipes by yourself.
Tools required to change a kitchen tap DIY
- Copper pipe cutter
- A Jigsaw
- Spanner
- Adjustable wrench
- Flexible pipes
- A valve
Steps to Change a Kitchen Tap with Copper Pipes
Seven steps are followed and you’ll be able to do the connection yourself.
- EMPTY THE SPACE
- TURN OFF THE WATER SUPPLY
- REMOVE THE TAP NUT
- CUT THE COPPER
- FIX ISOLATION VALVES
- CHANGE THE COPPER PIPE
- RECHECK THE CONNECTION
Let’s discuss them in detail.
STEP 1
To perform the work more cleanly and comfortably, make sure the surface is empty.If there are any unnecessary items lying, pick them up and keep them on a safer place.
STEP 2
Disconnect the water supply from the primary inlet and drain out any remaining water in pipes by opening the seal of the kitchen tap.
STEP 3
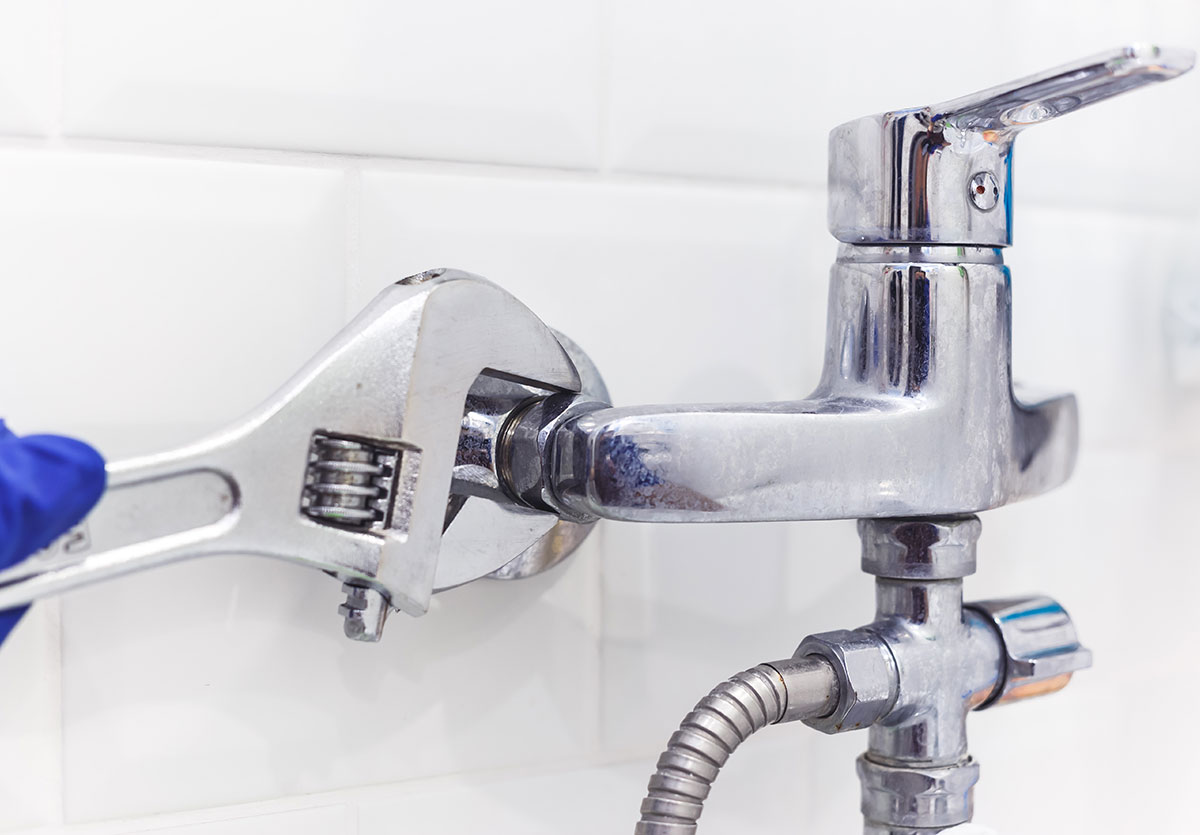
Under the sink surface, find a point through which the tap and the copper pipe make a connection. Usually, a nut holds this seal, and you need to remove the nut to disconnect the tap and the copper pipe.
Since the material is hard enough to be handled by fingers, use an adjustable wrench to loosen the screw and by continuously rotating it anticlockwise, the tap and the copper pipe will be disconnected.
STEP 4
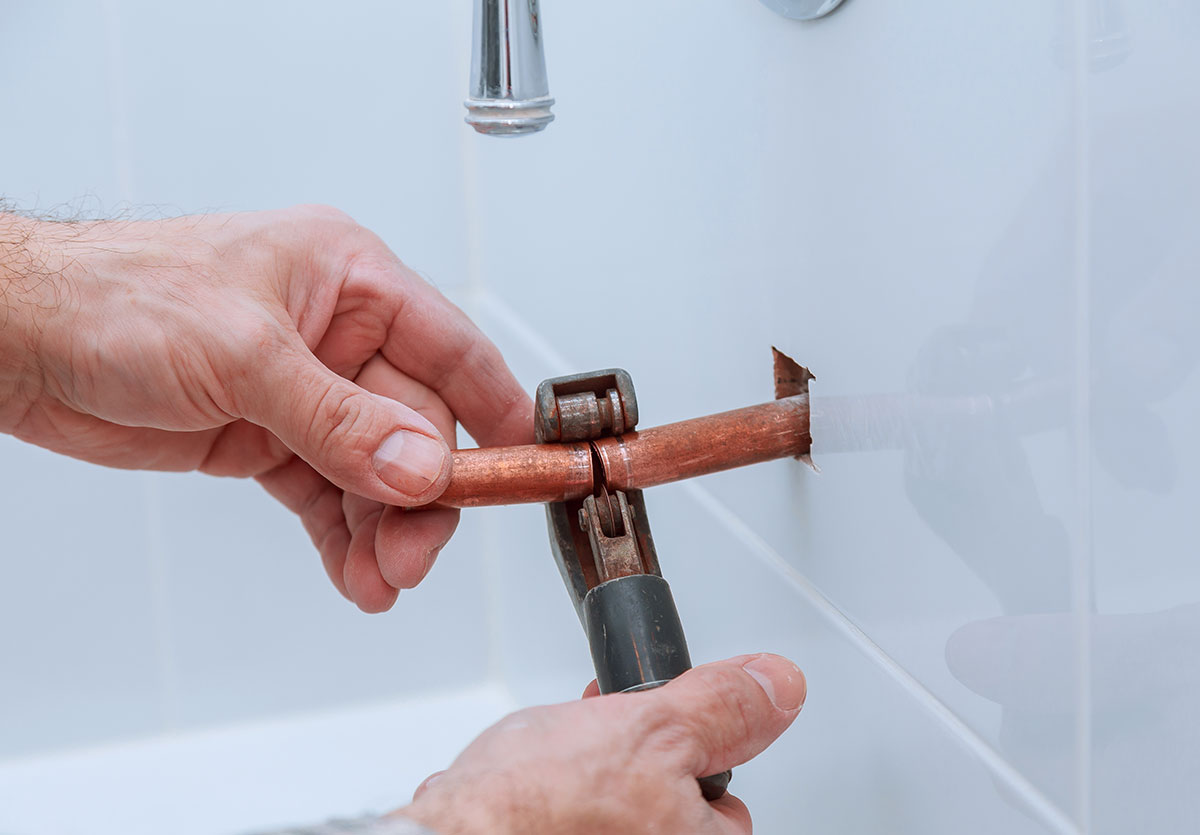
You need to separate both ends of a copper pipe. The first we made by removing one nut and the other side can be isolated by cutting the remaining part of the copper pipe.
Pick up a jigsaw or special copper tube cutter and begin the procedure. Carefully cut the pipe by pushing the tool down a bit.
STEP 5
Great! We are done with removing part of a copper pipe. Take the isolation valves and attach them to the waterline opening. Follow the given steps to install the valve:
- Clean the end of the pipe and smooth it with sandpaper.
- Put on the compression nut on the pipe and make use of a thread in case you find the fitting issues.
- Now attach the valve by tightening the compression nut with an adjustable wrench.
- Close the valve.
STEP 6
You are all set to make new changes to your kitchen tap. Take the flexible pipes and attach them to the tap. To connect flexible hoses to the tap, simply go through the further guide.
- Fix the pipe at the base of a tap opening; rotate the tightening bolt with a spanner to ensure that the seal has properly closed.
- Take the other end of the flexible pipe and connect it to the isolation valves.
- With the help of spanners tighten the connection between the valves and the flexible pipe.
STEP 7
Recheck the attachments to confirm that all points are securely fixed. Tighten the screws in case you find any issues. At last, turn the water supply on and enjoy a nice and gentle flow of water.
Bottom Line
Due to their durability and ability to handle temperature fluctuations, most of the homeowners prefer kitchen tap with copper wires.
The DIY steps mentioned above will make your installation, repairing or removal of taps easy.
Stay tuned with Kitchen Designn for more DIY tips on your kitchen problems.