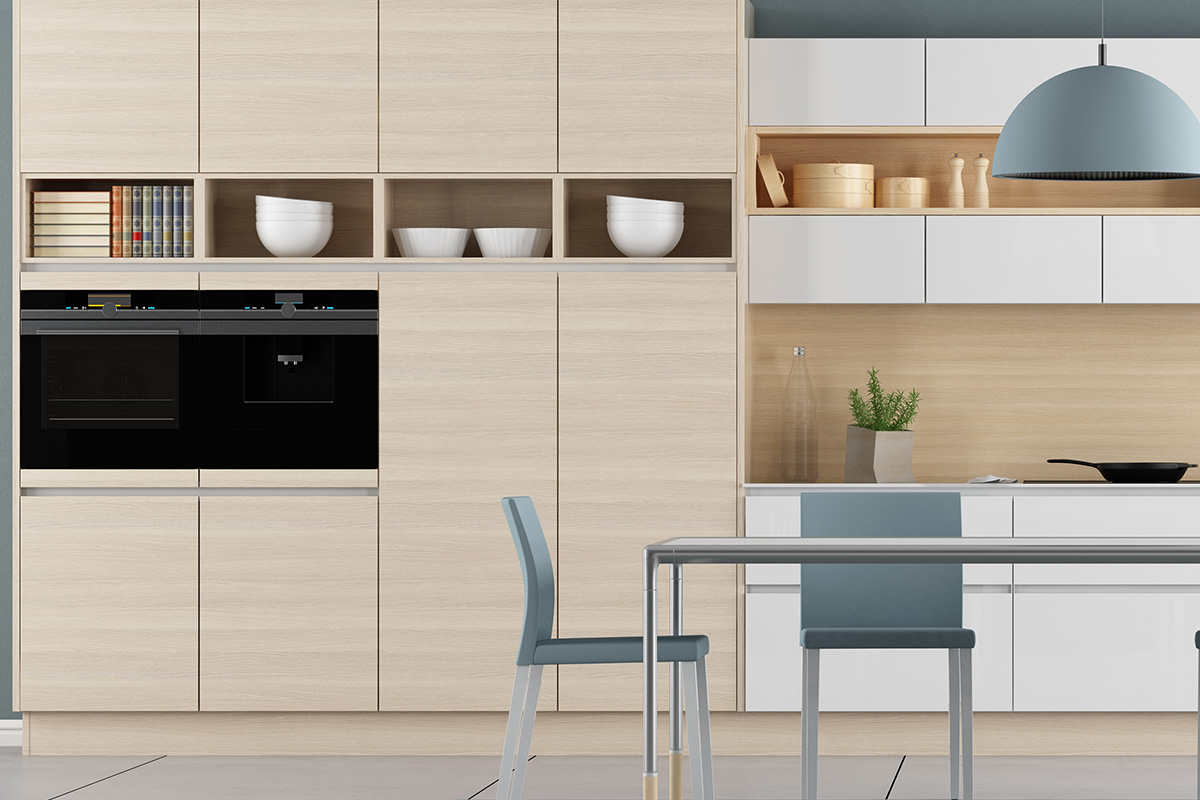
Kitchen units are integrated storage units that are used to store food, utensils, appliances, and other kitchen essentials. The kitchen appears modular, well organized, and professional with storage units.
You can refer to the layout and design to choose the position and location for the kitchen units. This will help you work efficiently and discipline. In general, kitchen units are set up from the corner.
Why Do We Need Kitchen Units?
- It enhances the functionality and performance of kitchen jobs.
- Kitchen units help to keep cleanliness by clearing out the mess of counters.
- With the right combination of kitchen units, you can make the best use of the space.
- They hide equipment used in kitchens such as boiler, microwave, oven, toaster, water filter, trash can, and many more.
Step by Step Guide to Fit Kitchen Units
Different types of units are fitted out according to the size and layout of the kitchen. They are base units, top units, integral units, vertical units, and wall units.
However, the steps to fit kitchen units remain the same regardless of the type and size of the kitchen units.
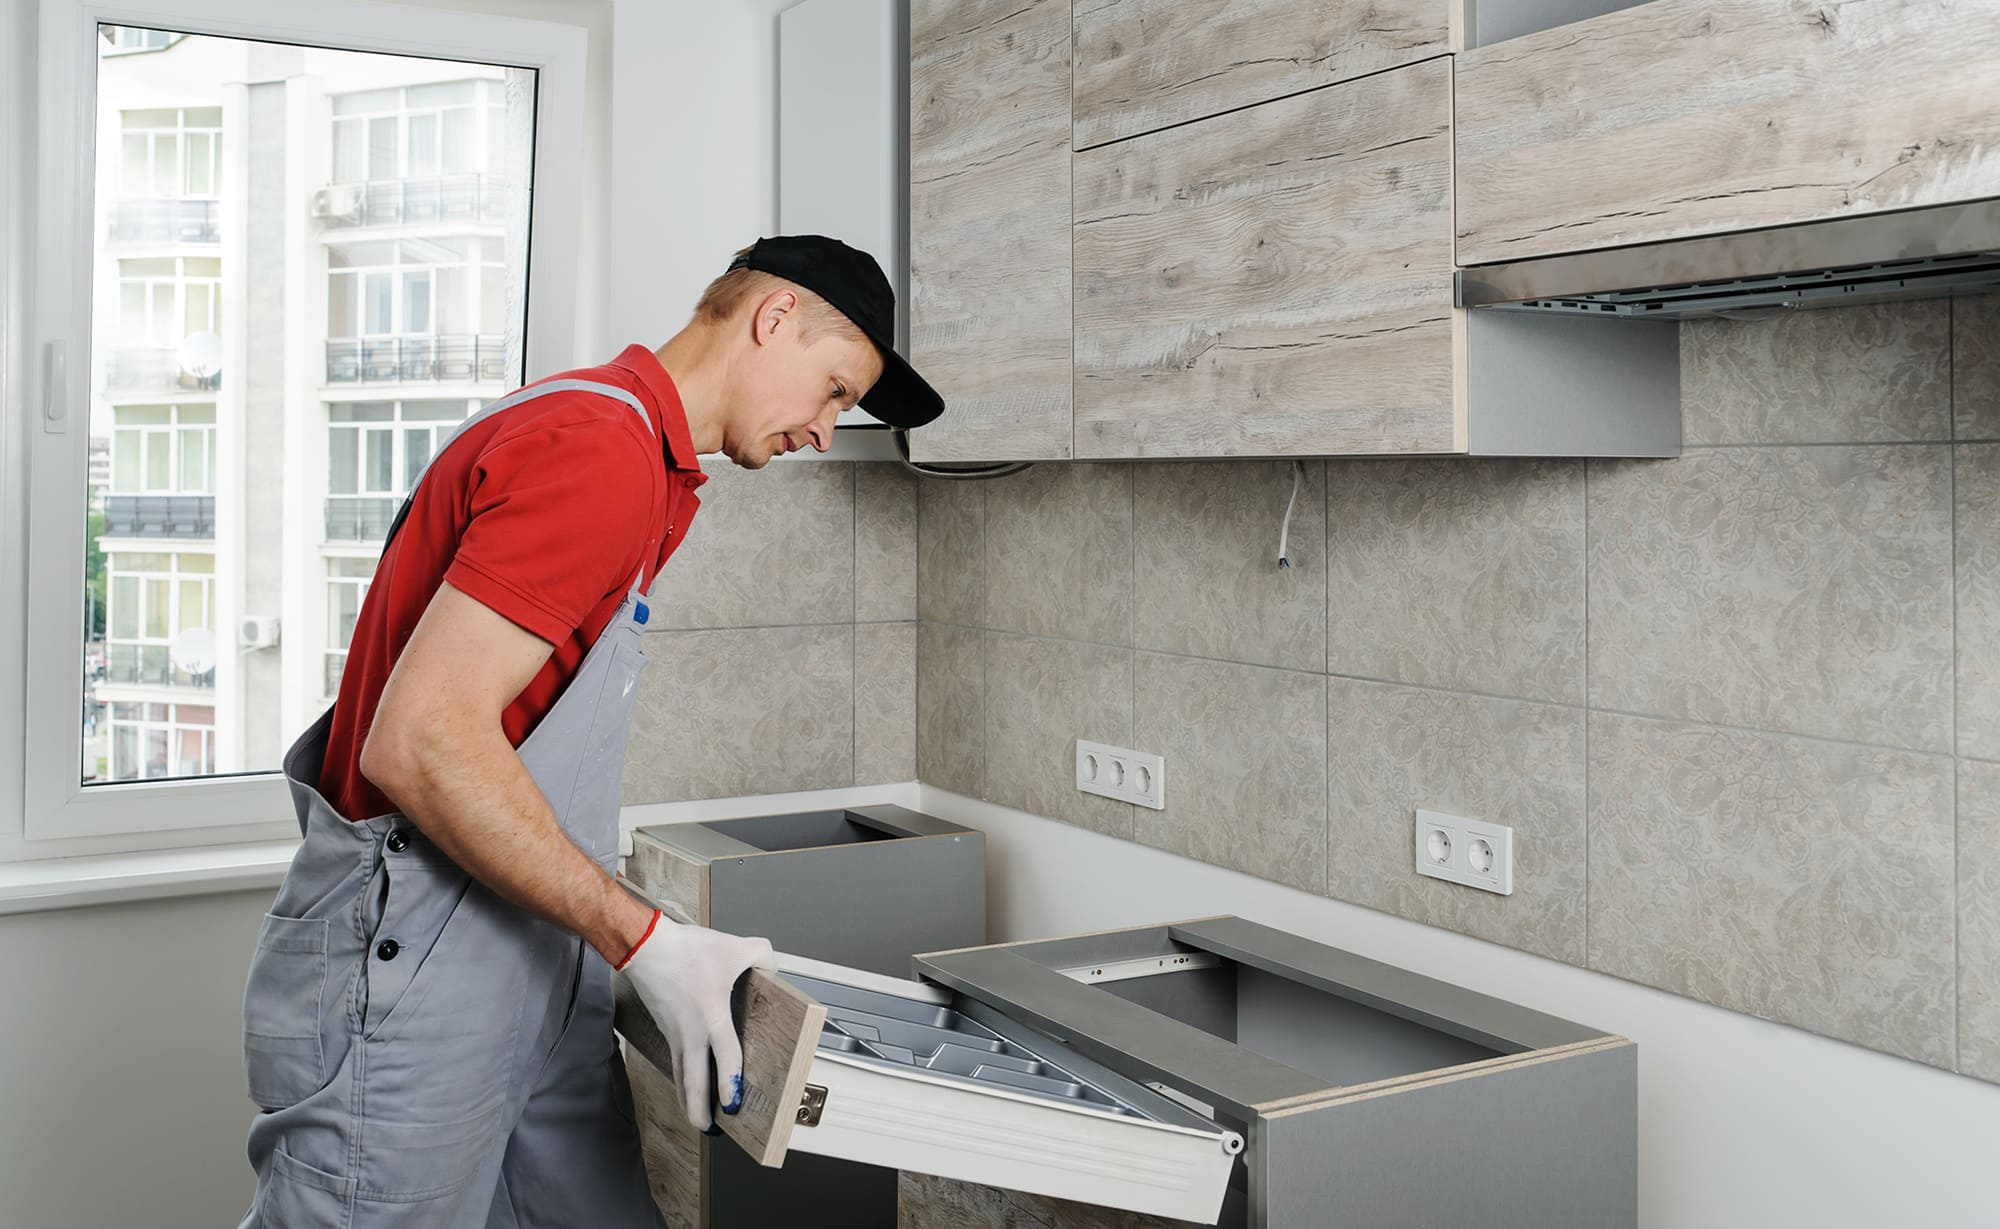
STEP 1: Assemble The Units
- Check all units before installing to ensure there are no missing or faulty parts.
- Understand all specifications, instructions, and directions before beginning work.
- Assemble the units by reading the step manually.
STEP 2: Place Wall-Brackets
- Wall brackets are secured to hang or transport units to the wall.
- Check for cables in the wall. Do not install the wall plug where an electric wire is passing.
- Drill the section if holes are required to place the screws.
- Attach the wall brackets to the wall by tightening the screws with a screwdriver.
STEP 3: Level The Units
- Do not fit Kitchen units without checking the level with the floor and wall.
- Temporarily hang the units on the wall outlets to take proper measurements.
- Mark the correct position for units above the wall.
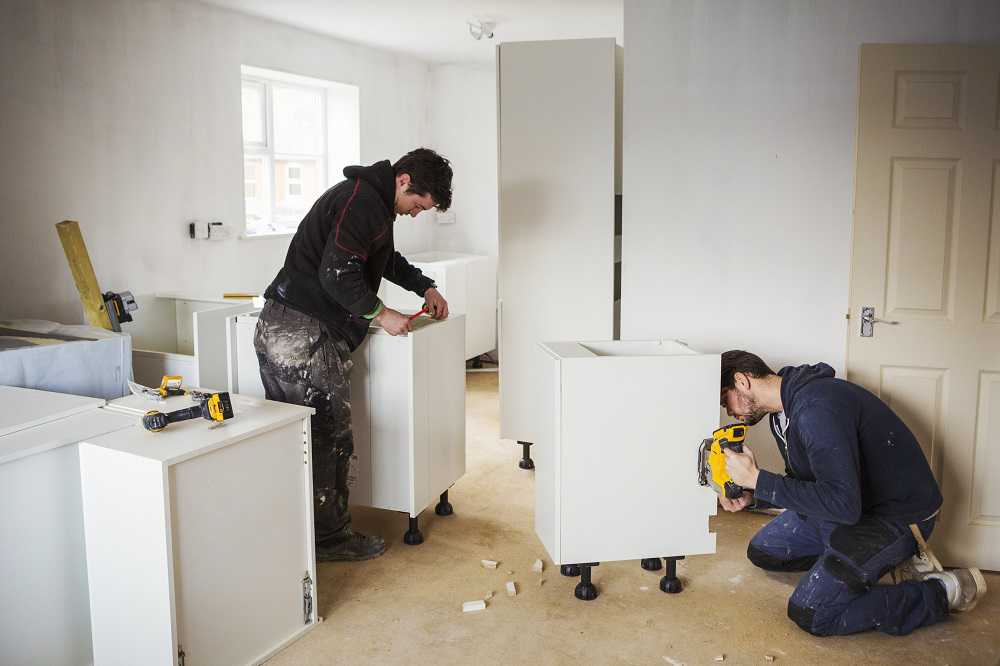
STEP 4: Fix The Units
- Secure cooking units after positioning and leveling.
- Carefully position the units on the wall brackets.
- Hang them one by one and screw them together using a drill.
STEP 5: Fix The Wall Plugs
- Secure the units with additional clamps or wall plugs.
- A wall plug provides a strong grip and extra support to the kitchen units.
STEP 6: Fitting Hinges and Handles
- The hinges already come with the screws, unwrap the packing and open the screws.
- Drill the proper hole through the doors and insert the hinges.
- Using a jackhammer, place the screws and attach the hinges inside the cabinet.
- Now, place the doors on a working table and fix the hinges on it.
- Mark where the handles will be attached.
- Drill the holes based on the diameter of the handle screws.
- Attach them securely to the doors.
Read Also – HOW TO TILE A KITCHEN?